The Taptic Engine is a game-changing piece of hardware that Apple has added to the Apple Watch. One of the annoyances of Android Wear and Pebble is that the notification vibrations are not very subtle, and everyone nearby knows that your watch demands attention. The Taptic Engine allows you to send taps to your users wrist, feeling much like someone tapping their finger on you, as a subtle and discreet to communication information for users that they can choose to ignore or receive without bothering those around them.
So what the heck is a Haptic and how is it different from a Taptic?
Haptic Feedback used in technology typically refers to any kind of vibration or force used in input devices on the user. Pressing a button on a smooth glass screen just doesn't feel as satisfying as clicking a physical button on a mouse. That's because the mouse button depresses and then gives a 'click' feeling vibrating into your finger to indicate the button has been pressed. What's nice about this is that you can know when a mouse button has been successfully pressed without looking at it.
Compare this to a button on an iOS App, where you have to visually look where you are aiming your finger, and rely on visual feedback that the button has been pressed correctly. Haptic feedback refers to the class of technology to simulate physical feedback in a device, like the vibrations of a Playstation Controller or the taps on an Apple Watch.
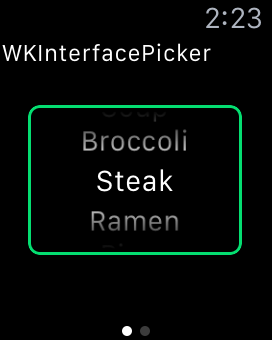
The Taptic Engine is Apple's marketing name for the piece of hardware that can produce Haptic feedback by way of the feeling of taps on your wrist in response to different actions in the hardware. It can notify you that you scrolled to the end of a list, it can make it feel clicky as you click through the items of a WKInterfacePicker list, or even indicate on your driving directions if it's time to turn left or right with different feeling taps so you don't even have to look at the Watch screen to know which way to turn.
Coding Your Own Haptics
The API is exceedingly simple, with just a quick API call to playHaptic():
WKInterfaceDevice.currentDevice().playHaptic(.Click)The playHaptic() API takes in values from the WKHapticType enum.
enum WKHapticType : Int {
    case Notification
    case DirectionUp
    case DirectionDown
    case Success
    case Failure
    case Retry
    case Start
    case Stop
    case Click
}
Apple currently doesn't allow for defining custom Haptic events, so whatever you want to do on your app, you'll have to do it with one of these nine Haptic types.
It's pretty important to understand the feeling, sound and intention of each of these types, so we'll cover each in detail.
WKHapticType in Detail
.Notification
Sound: Chime
Haptic: Tap-Tap-Vibrate
The .Notification type is intended for drawing the user's attention when something significant or out of the ordinary has occurred.
.DirectionUp
Sound: Increasing Pitch
Haptic: Tap-Tap
The .DirectionUp type is intended for indicating a significant increase value threshold has been crossed such as when moving up a list.
.DirectionDown
Sound: Decreasing Pitch
Haptic: Tap-Tap
The .DirectionDown type is intended for indicating a significant decrease value threshold has been crossed, such as when moving down a list.
.Success
Sound: Confirmation Ding
Haptic: Tap-Tap-Tap
The .Success type is intended as a confirmation tone to indicate some action has been completed successfully.
.Failure
Sound: Failure Ding
Haptic: Long Vibrate
The .Failure type is intended as a failure tone to indicate some action has not been completed successfully.
.Retry
Sound: Quick Ding-Ding-Ding
Haptic: Long Vibrate
The .Retry type is intended as a gentle tone to indicate some action has not been completed successfully but the user has an opportunity to retry. Typically you should display some UI with this tone giving the user an opportunity to retry their failed action.
.Start
Sound: Long Ding
Haptic: Long Tap
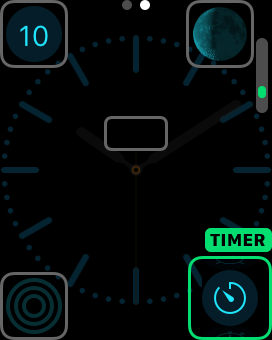
The .Start type is intended to indicate the start of an activity, such when a timer begins.
.End
Sound: Long Ding-Long Ding
Haptic: Long Tap-Long Tap
The .End type is intended to indicate the end of an activity, such when a timer has ended.
.Click
Sound: Very soft click
Haptic: Light tap
The .Click type is intended to indicate a clicking sound, like when a dial is clicking.
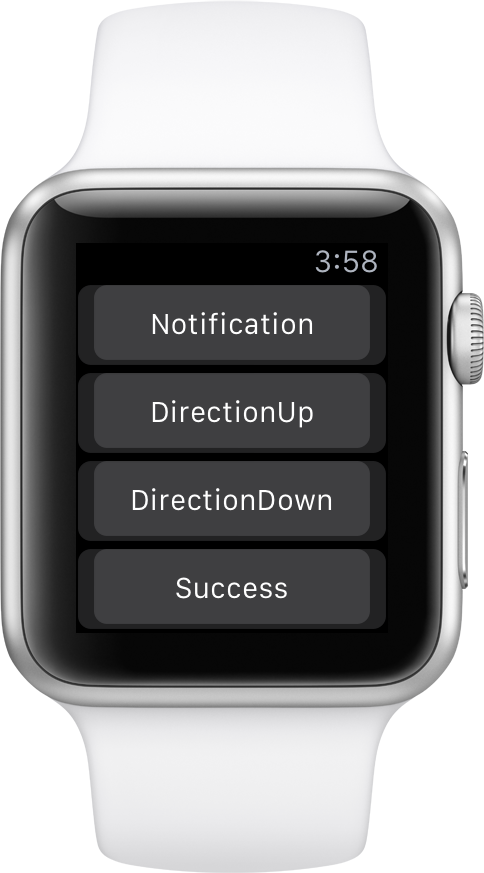
Haptic Demo sample provided on GitHub
Taptic Engine Considerations
The Taptic Engine cannot overlap Haptics, and there is a delay between each one that can be played. So for example, let's say you wanted to play a .Click as you move through each item in a list. If you move quickly through the list, a lot of .Click haptics will be ignored, and your user will find it not feeling quite right when the taps fall out of sync from your UI.
Make sure that when you are designing your application, only use haptics on rare and significant events to both conserve battery as well as feel strange if they are asked to overlap and you end up losing feedback commands that you intended.
Trying It Out
We've provided sample code for an app to try out each of the haptic types on the Sneaky Crab GitHub. Unfortunately, the current version of the watchOS Simulator does not support sounds, so you'll have to install this on your iOS 9/watchOS 2 hardware to try it out.
Remember that it is currently impossible to reverse a watchOS 2 update, so make sure that you only update to watchOS 2 for test devices and not your main Apple Watch, especially considering that watchOS 2 beta 1 is extremely unstable!
Wrapping Up
Apple provides a very simple API for providing haptic feedback to a user through the excellent Taptic Engine. Staying consistent with the intended meanings of the different types will allow a user to learn and understand what you are trying to convey without having to relearn anything while using your application.
How have you implemented Haptic feedback in your Apple Watch apps?